
How to Highlight and Contour a Round Face
Some people have a very chiseled face with defined cheekbones and a sharp jawline while others have a more full face. Although they’re both beautiful, there’s nothing wrong with using a little makeup to make these features pop. The highlighting and contouring technique is a way to pull out these natural features. If you have a round face, I’m giving you all of my tips and techniques on how to contour and highlight a round face.
Keep in mind that not all faces are the same, so not all contour and highlighting techniques should be the same either. The thought of highlighting and contouring a round face for beginners might seem complicated, but with a little practice with these techniques, you’ll be a pro in no time. Here’s a full video explaining the entire process!
Step Number 1: Apply Foundation
The highlighting a contouring process actually start with this step: the foundation. I start with having two different shades, one that is a bit lighter than my natural skin tone, and one that’s a tad bit darker. By using these two shades, it’ll already give your face more depth rather than a solid canvas to work with. Use the darker foundation on most of your face, and then use the lighter foundation on all of the areas you’d use to highlight.
Related Post: Easy, Natural Glowing Makeup
Step Number 2: Concealer
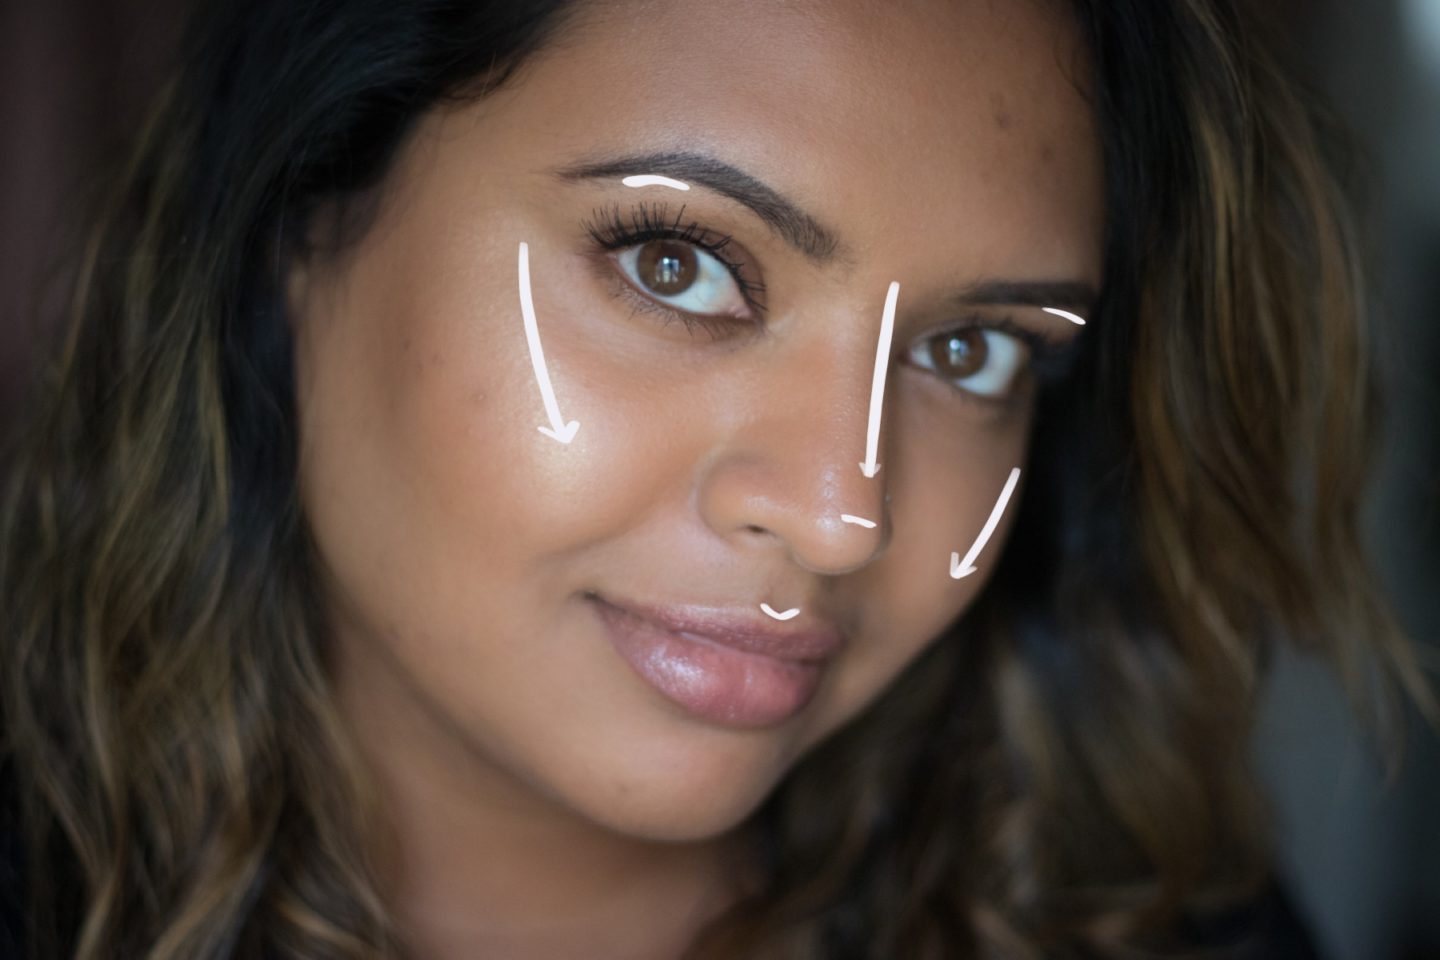
Grab a concealer that is one to two shades lighter than your skin tone, and apply it under your eyes, bridge of your nose, a bit on your forehead, and your chin. The key to this is to not pull your concealer too wide, rather pull it lower. All of the highlighted areas should be closer to the center of your face. Once you blend it out using a beauty blender, the center of your face will appear to be pulled forward.
Step Number 3: Bronze and Contour
Now that we’ve highlighted the areas to pull forward, it’s time to darken the areas we’d want to push back. Start with a warm bronzer to give yourself a bit of a darker, bronzed glow around your face. Then follow up with your contour shade. This is the step that’s going to sculpt your face. Don’t apply too much product or over blend. Areas to apply your contour shade is along the hollows of your cheeks, chin, jawline, and sides of your nose. If you want to make your forehead appear smaller, add it to the sides of your temples as well. These shadows will push back your face and will help create the appearance of a more defined face.
Step Number 4: Blend and Set
Make sure all of the cream product is blended seamlessly and follow up with powder to set it. Any areas that was highlighted, use a translucent powder, and any area that was contoured, use a bit of contour powder.
Step Number 5: Highlight
Highlighting is going to give your skin that glowy pop! Add it to all of the high points of your face to emphasize and pull those features forward. The key to highlighting a round face is to angle the highlight in a sharp diagonal. Start closer to the end of your eyes, and diagonally angle it on your cheekbone. A little goes a long way with this step so be careful of how much you apply.


Related Post: How to Highlight a Round Face
Step Number 6: Setting Spray
The final step is to lock your look in with a setting spray. This will help prevent your makeup to move around or fade throughout the day.


Loved the video, you have such pretty skin! Have subscribed to you Yt channel 🙂
http://www.alifyalifestyle.com/
aaah thank you so much! <3